PARTS YOURPROJECTS NEED
Having trouble locating obsolete, allocated or hard-to-find electronic components?You need it. We source it. Let us know what you’re looking for and we’ll find it.
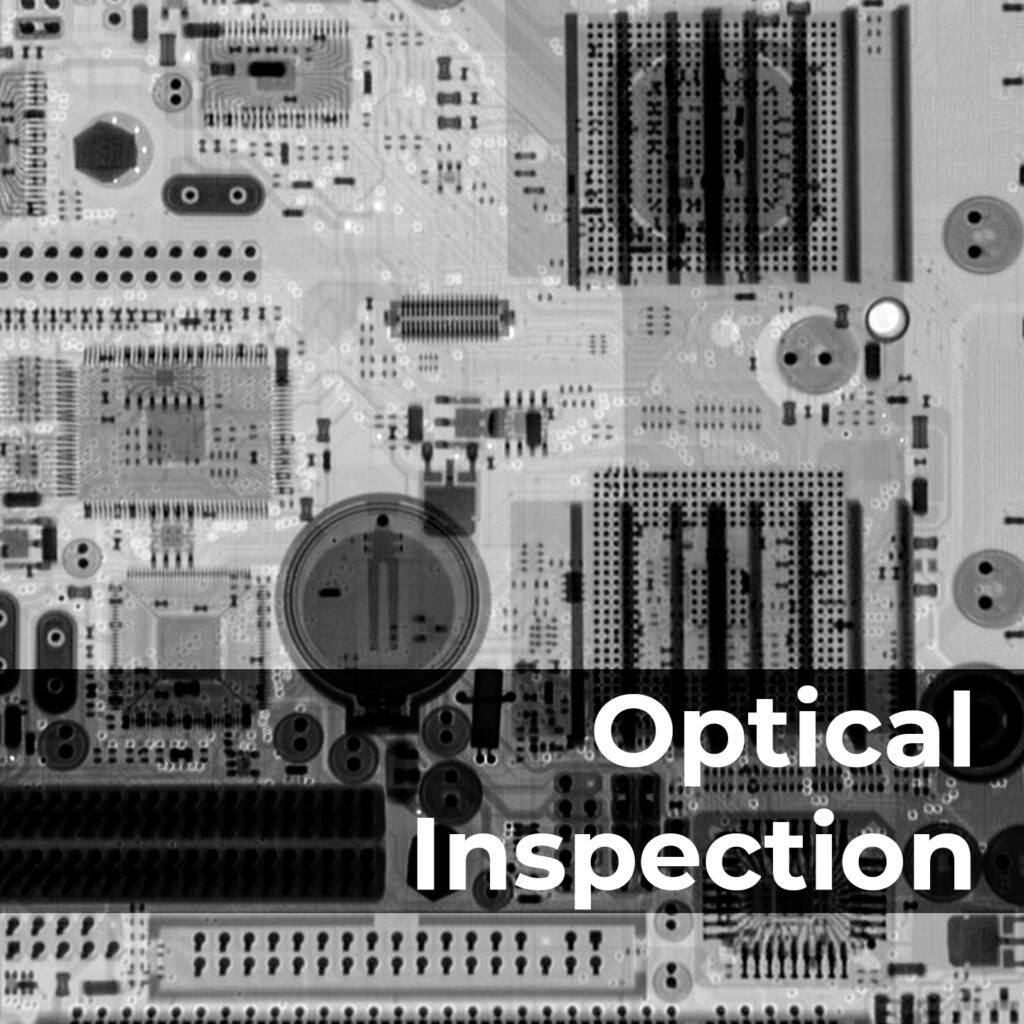
An optical inspection machine, also known as an automated optical inspection (AOI) machine, is a key tool used in the manufacturing of printed circuit boards (PCBs). Its primary function is to perform a visual inspection of PCBs to identify defects, errors, or anomalies in the assembly process.

Here’s an overview of what benefits an optical inspection machine in relation to PCB manufacturing:
Optical inspection machines utilize advanced cameras, sensors, and lighting systems to capture high-resolution images of PCBs. These images are then analyzed to detect and identify various types of defects, including component placement errors, solder joint quality issues, missing components, bridging, and other manufacturing faults.
The AOI machine compares the captured images of the PCB with a predefined set of criteria or a reference image to identify discrepancies. The machine uses pattern recognition algorithms, image processing techniques, and artificial intelligence to detect defects automatically. It can detect defects that are not easily visible to the naked eye, ensuring higher accuracy and efficiency in the inspection process.
One of the primary functions of an optical inspection machine is to verify the accuracy of component placement on the PCB. It compares the position, rotation, and orientation of each component with the reference design data to ensure that they are correctly placed. It can detect misaligned or missing components, as well as incorrect polarity or orientation.
The machine inspects the quality of solder joints that connect components to the PCB. It analyzes factors such as solder fillet shape, excessive or insufficient solder, solder bridging between adjacent pads, and solder voids. It identifies defects that can affect the electrical and mechanical integrity of the PCB.
After detecting defects, the optical inspection machine can classify them based on severity or predefined criteria. It generates detailed reports that highlight the specific locations and types of defects found on the PCB. These reports help operators and technicians to identify and address the issues promptly, improving the overall quality and reliability of the PCB assembly process.
By providing real-time feedback on the manufacturing process, AOI machines enable continuous improvement. The data collected during the inspection can be analyzed to identify recurring defects, analyze trends, and optimize the manufacturing process. This feedback loop helps enhance production efficiency, reduce errors, and increase overall yield.
Overall, optical inspection machines play a crucial role in ensuring the quality and reliability of PCB assemblies. They automate the inspection process, provide fast and accurate defect detection, and help optimize the manufacturing process. By employing advanced imaging and analysis techniques, these machines contribute to improving the overall quality control and efficiency in PCB manufacturing.